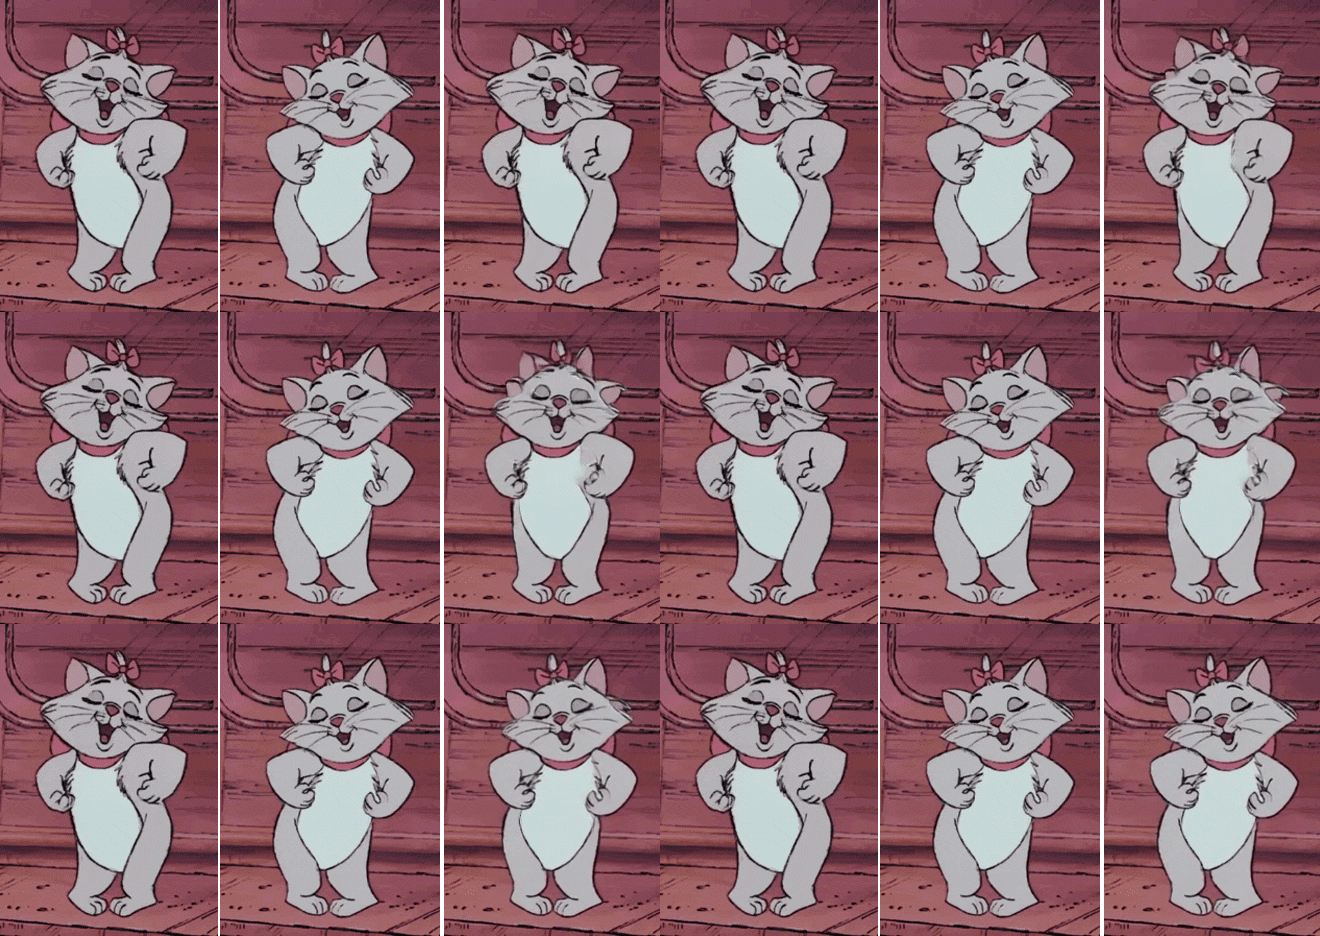
In animation production, in-betweening creates intermediate frames between two keyframes so that the audience can see the smooth movement between the two frames. AI frame interpolation fills in between by morphing one image into another using AI software. (Note that the changes between the two frames should be subtle and predictable.) This tutorial is a step-by-step guide on animating in-betweens for free using an Ai Frame Interpolation software from Google Research GitHub.

1. Create a “interpolation” directory on your local drive. Open a dos prompt, navigate to this directory. Download the code from frame-interpolation GitHub repository by the command:
>git clone https://github.com/google-research/frame-interpolation.git
A new directory “frame-interpolation” is created under “interpolation.”
2. Under “interpolation” directory, create another directory called “pretrained_models.” Go to Google Drive to download “film_net” and “vgg.” Put them under “pretrained_models” directory.
3. You need to configure a virtual environment to run the code. If you haven’t installed Anaconda3, go to install Anaconda3.
4. Setup a conda environment with the instruction.
5. Prepare two images for the start and the end frames. Rename files to “one.png” and “two.png.” Put them under “frame-interpolation\photos” directory.
6. Open an Anaconda Prompt. Run command:
>conda activate tf_env_new
7. Still in the Anaconda prompt, go to the directory “interpolation” and run command:
>python -m frame-interpolation.eval.interpolator_cli --pattern “frame-interpolation/photos” --model_path pretrained_models/film_net/Style/saved_model --times_to_interpolate 6 --output_video
8. When it finishes, the image sequence and a new video mp4 file are saved at “frame-interpolation\photos” directory.
9. If you cannot play the mp4 file due to encoding differences, import the image sequence to After Effects or other video editing tools to render as a video.


